Category: Без категория

12
Apr

Xiaomi M365 scooter dashboard with ESP32 and 1.3 inch TFT screen

I have recently added a nice digital dashboard to my beloved M365 electric scooter. Thanks to Dani M. and the other contributors to the project I was able to make the scooter a lot smarter.

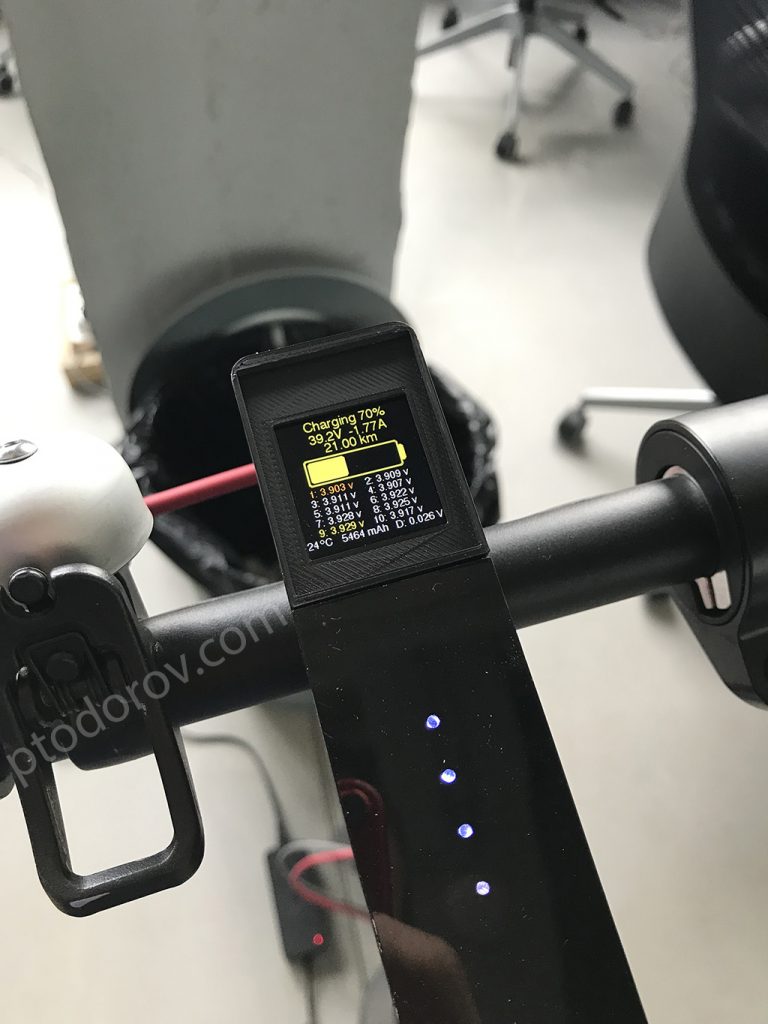
The dashboard calculates and displays daily statistics including mileage, avg. speed, time and energy used, remaining battery mileage and battery level. When you start driving the screen changes to speedometer, wattmeter and some other realtime metrics. There are a lot more screens containing battery and ESC temperatures, BMS statistics containing voltage for each cell, total battery cycles, estimated battery health percentage, pinpointing defective cells and much more.

Demo(Spanish):

Required components:

– You must join the creators’ English or Spanish chats in Telegram in order for your ESP32 serial number to be activated(it’s free):
English: https://t.me/LCDM365ESP32English
Spanish: https://t.me/LCDM365ESP32
– Download all required files (firmware, manuals, 3d printing STLs etc.):
Original
Ptodorov’s Mirror
ESP-WROOM-32 (should be the same form factor in order to fit)
1.3″ 240×240 ST7789 SPI TFT
– 1N4148 diode (I had BYV26 on hand)
– 100R and 680R resistors
– 3D printed housing, you can find .stl files in the download (I printed this with my Ender 3 printer, but if you don’t have one you can ask/pay someone to print it for you)

Flashing the firmware to the ESP32:

Before connecting anything to the ESP32 you should flash it’s firmware.

Install ESP32 1.0.0 board in your Arduino IDE from Tools > Board > Boards Manager (Warning: ESP32 1.0.1 version will not work, choose 1.0.0 from the dropdown). Install ESP32WebServer and ESPmDNS libraries by Ivan Grokhotkov via Sketch > Include Library > Manage Libraries. Connect your PC/Mac to the ESP32 using a MicroUSB cable. In Arduino IDE choose ESP32 Dev Module from the Tools > Board menu. Change the upload speed from Tools > Upload Speed to 460800.

Now open the .ino file from the M365_Loader_v12 folder and fill your home wifi ssid and password in the //WLAN Station parameters variables. Click the Upload button and wait for it to finish. Now open Tools > Serial Monitor and take a look at the log, it should connect to you home WiFi and display it’s assigned IP address. Take note of this IP address and using a browser open http://[the_assigned_ip]. You should see a blank page with an upload box in it. Choose the FW_0.23.3-TFT.bin file from the project folder and click Upload. When it’s ready the web page will be reloaded.

Wiring it up:

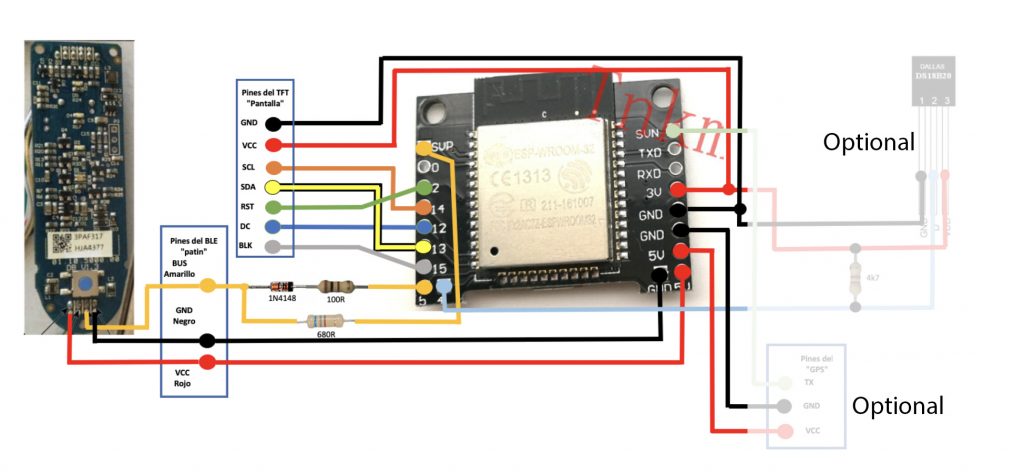
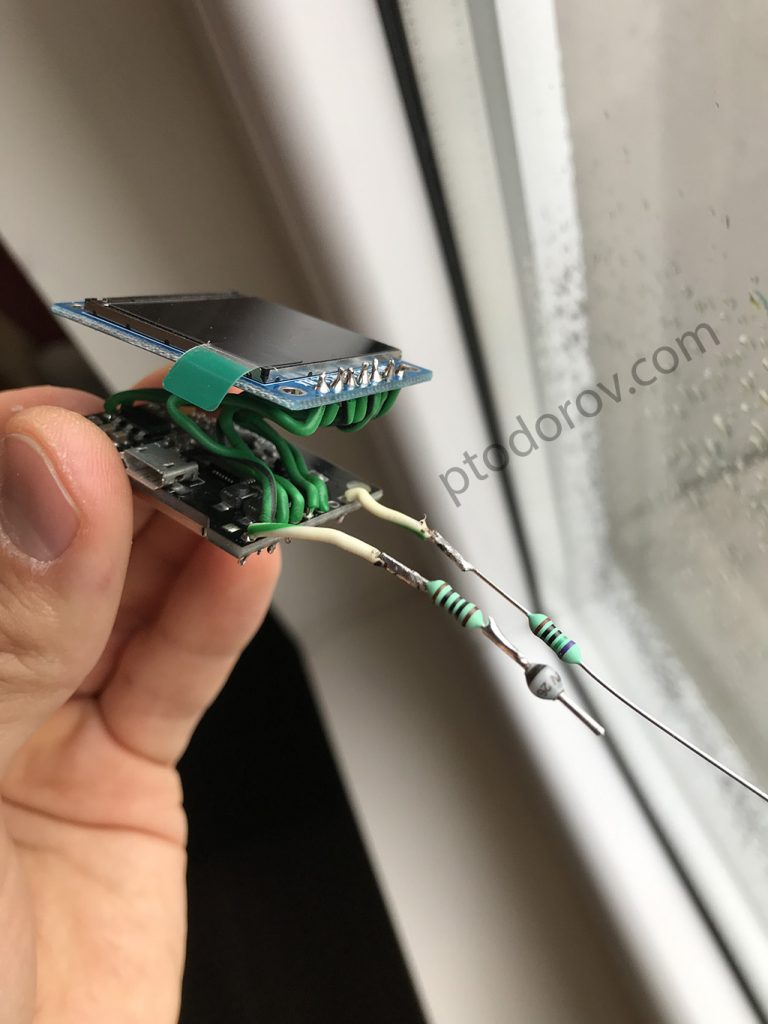
Now you can disconnect the USB cable and warm up your soldering iron. Make all connections to the TFT and the M365 power button board according to the following schematic:

Xiaomi M365 ESP32 dashboard

Warning: Do not connect microUSB to the ESP32 when it’s wired to the VCC of the M365 mainboard. If you need to debug with Serial Monitor or refresh the ESP32 you should only leave GND and BUS connected to the M365 and disconnect the VCC wire.

Xiaomi M365 ESP32 dashboard

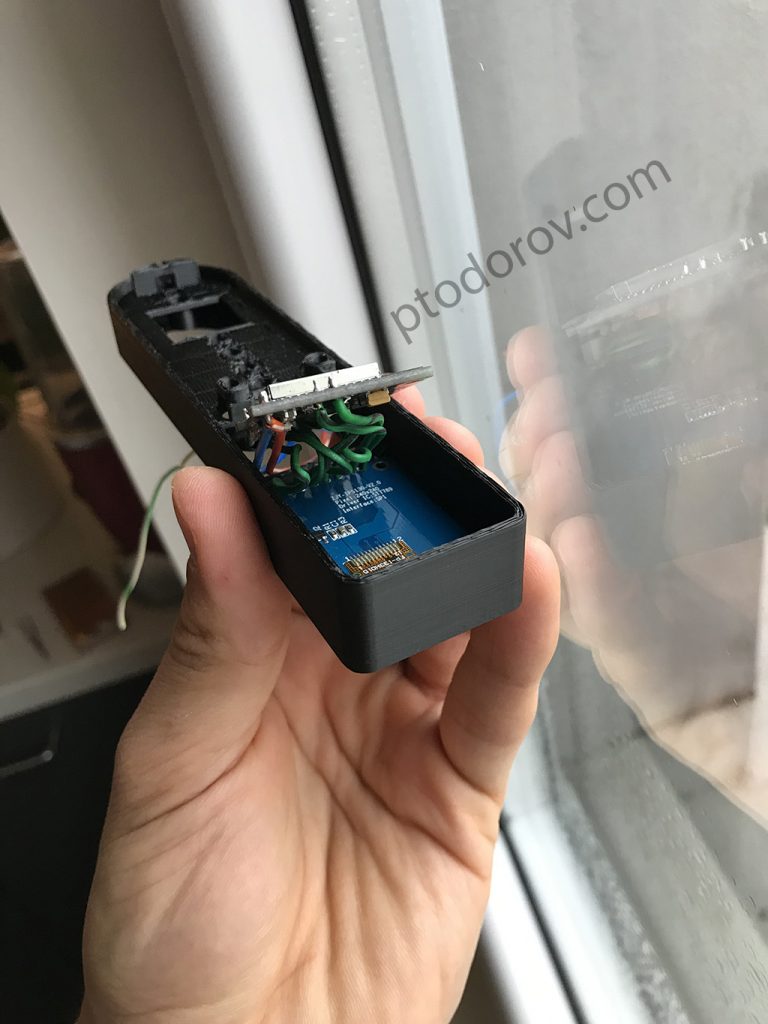
Xiaomi M365 ESP32 dashboard enclosure

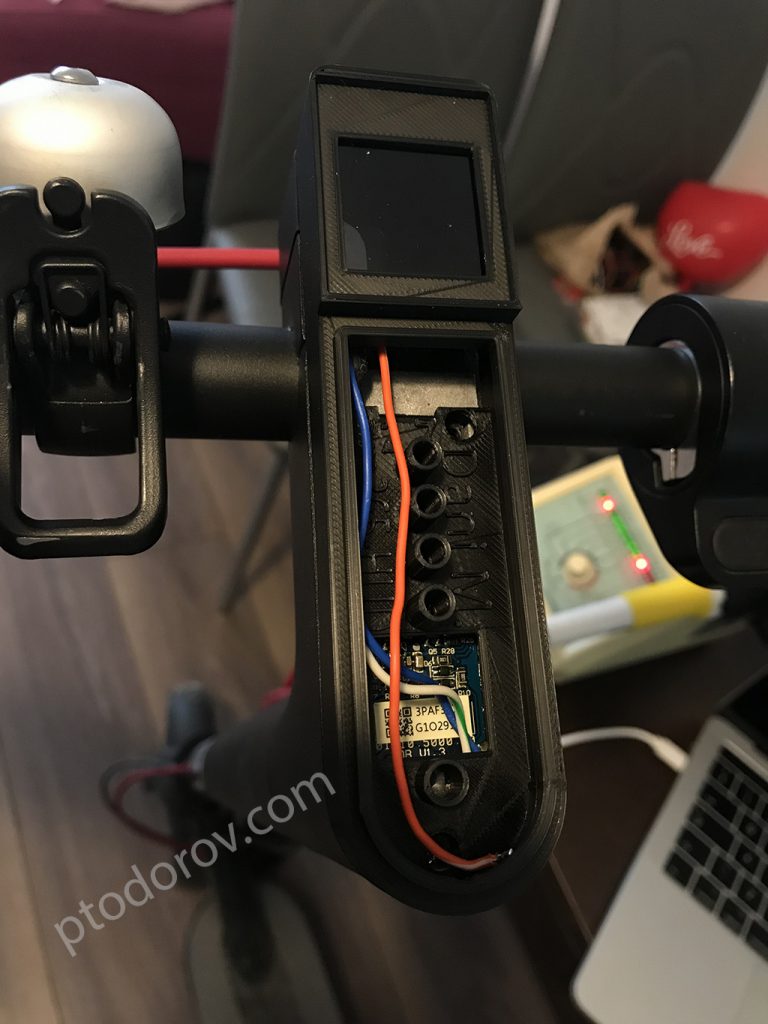
Xiaomi M365 ESP32 dashboard fitted

Xiaomi M365 ESP32 dashboard charging

In order to activate your license you should open the ESP32 settings from your PC browser and fill in your Telegram alias, note your ESP32 serial and send it in the Telegram chat in order to be activated.
27
Feb

Pure OFC Silver Plated Pseudobalanced Interconnects (DIY)

I consider interconnects one of the most important cables in the audio system because the signal level they are transitioning has a low amplitude which makes it sensitive to noises. On the other side, devices on both ends of interconnects are usually sensitive to characteristics of the cables like capacitance and resistance.

Today I will show you how to make a pair of very high quality DIY interconnects using a 99.9998% OFC silver plated wire in a pseudobalanced(semibalanced) configuration. Pseudobalanced(semibalanced) interconnects usually employ a shielded cable consisting of 2 insulated wires and a shield which is connected only on the input end.

Cable: Audiophonics 11467 – 2m (6.5ft) (supplier)
– Cores: 2×0.5mm silver plated OFC
– Shield: silver plated OFC
– Insulation: PTFE
– Total diameter: 3mm
– Costs only 4.92EUR per m

Sleeve: Audiophonics 7835 – 3m (9.75ft) (supplier)
– Cable diameter: 1.5-5.5mm
– Costs only 0.83EUR per m

RCA Plugs: Rean NYS373 – 4pcs (official website / my supplier)

– Maximum Cable Diameter: 6.1mm
– Solid build, long lasting
– Gold plated contacts
– Easy to solder
– Costs only 2EUR each

Total cost: 20.33EUR

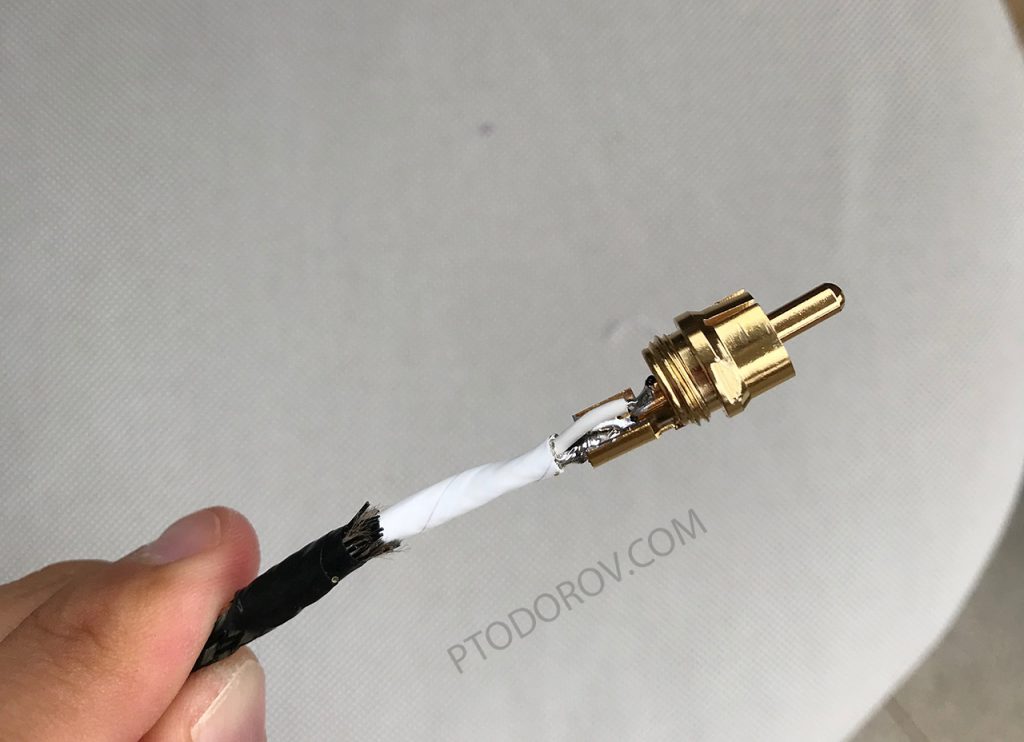
Input end (a.k.a source):
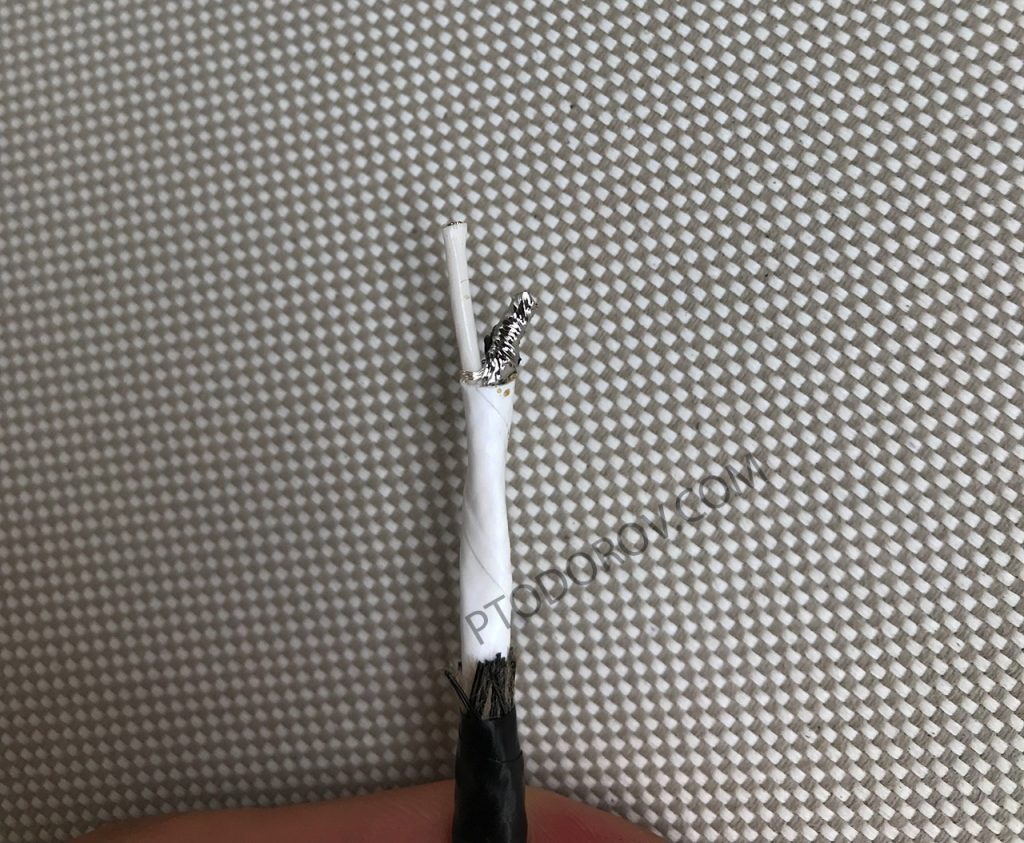
At the input end you should join the black insulated conductor with the shielding for a pseudobalanced configuration (only at the input end !). Like this:
DIY Silver plated OFC Input End

And then solder it into the RCA plug:
DIY Silver plated OFC Input End RCA

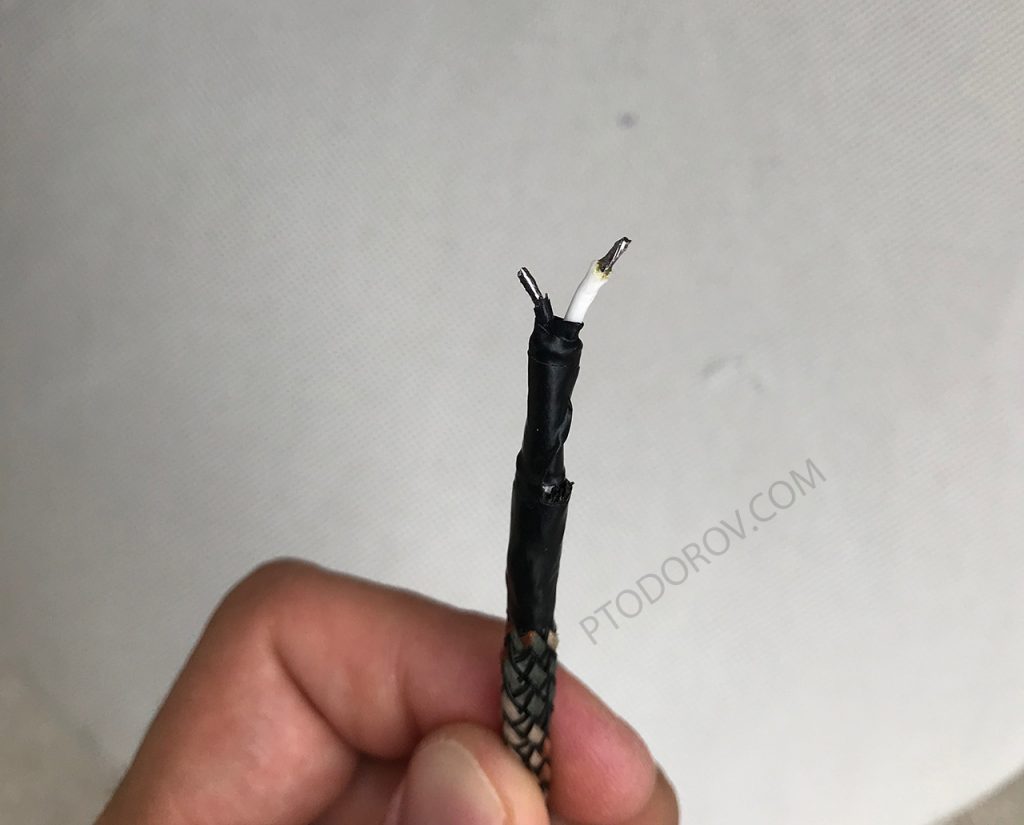
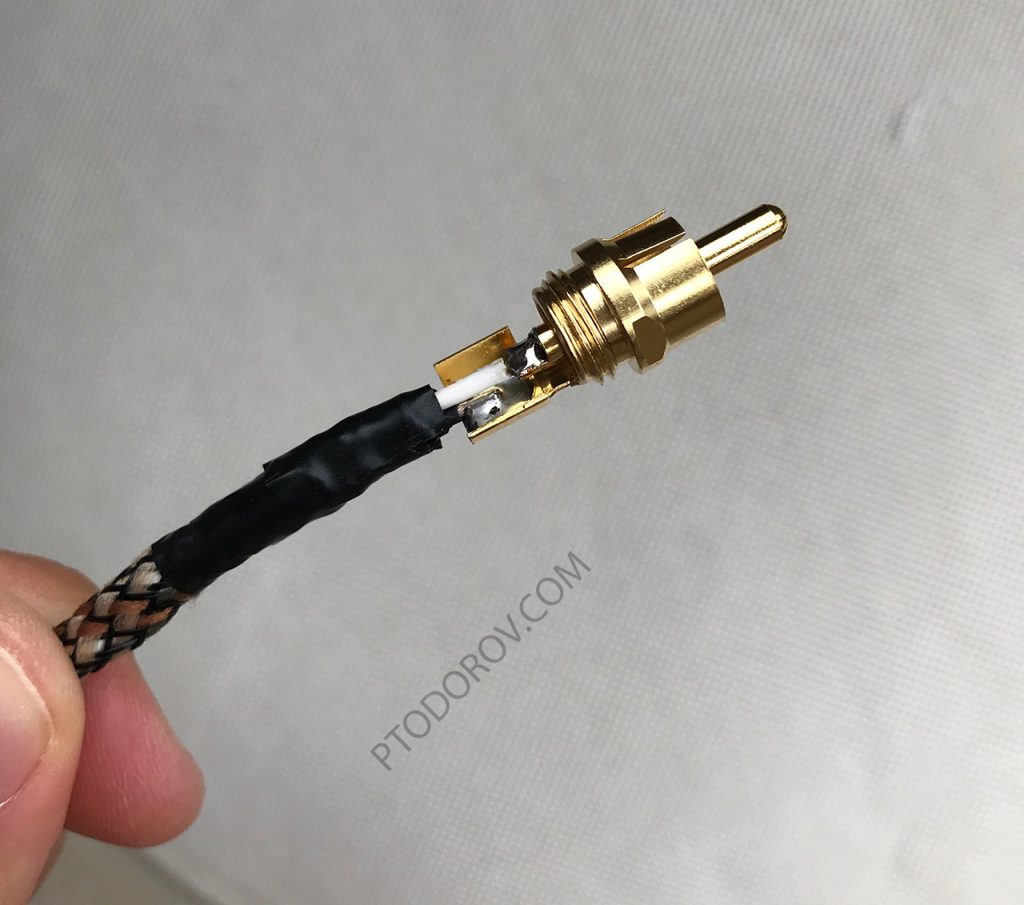
Outpud end (a.k.a. destination):
At the output end you should leave the shield unconnected at all and make sure it can’t accidentally touch any of the metal parts of the RCA plug. Use only the black and white insulated conductors as shown:
DIY Silver plated OFC Output End

And then solder the insulated conductors in the RCA (don’t forget to slide the rca outer shield to the cable before soldering the connector on the other end):
DIY Silver plated OFC Output End RCA

Make sure to mark permanently which side is input on both channels so you won’t make mistakes when connecting the cable.

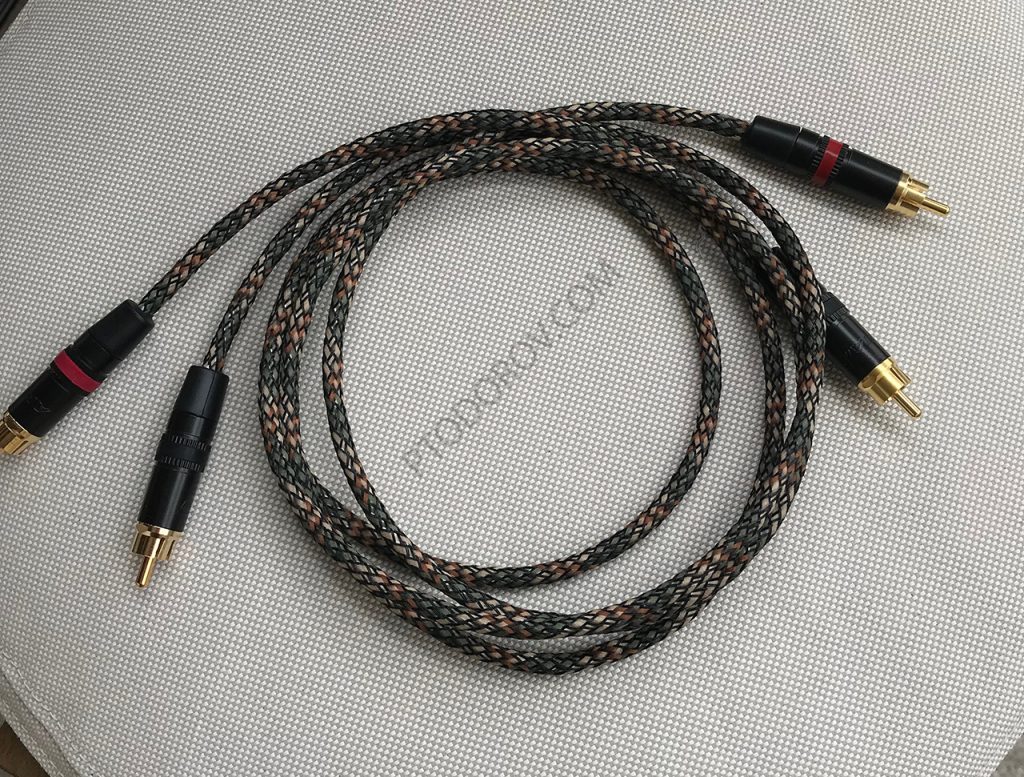
Mine looked like this after I was done:
DIY Silver plated OFC Pseudobalanced Interconnect

30
Sep

The only true wisdom is in knowing you know nothing.

Socrates
29
Aug

The comment pointed out that the COMBINED market caps of Microsoft, Google, Facebook and Amazon, four of Apple’s major peers in the tech world, still didn’t equal Apple’s. Total market cap value of the four companies equals $630.95B. Meanwhile, Apple currently clocks in at $632.56B. Just staggering when you think about it. Especially when you consider that Apple’s market cap in 1999 was only $9.29B.

Google Finance
15
Aug

An obsession to recapture the musical language of the past slides into the production of a new manifold of information. More and more time, care and money is invested in the medium of sound reproduction; more and more effort is expended to control the listening environment. Even the electricity coming into the house is suspect as a possible source of distortion.

14
Aug

Hello and welcome to my new blog. In this blog I will be posting information mainly about my DIY audio components and any other geek stuff that I come across or build. Thank you for visiting!