I have recently added a nice digital dashboard to my beloved M365 electric scooter. Thanks to Dani M. and the other contributors to the project I was able to make the scooter a lot smarter.
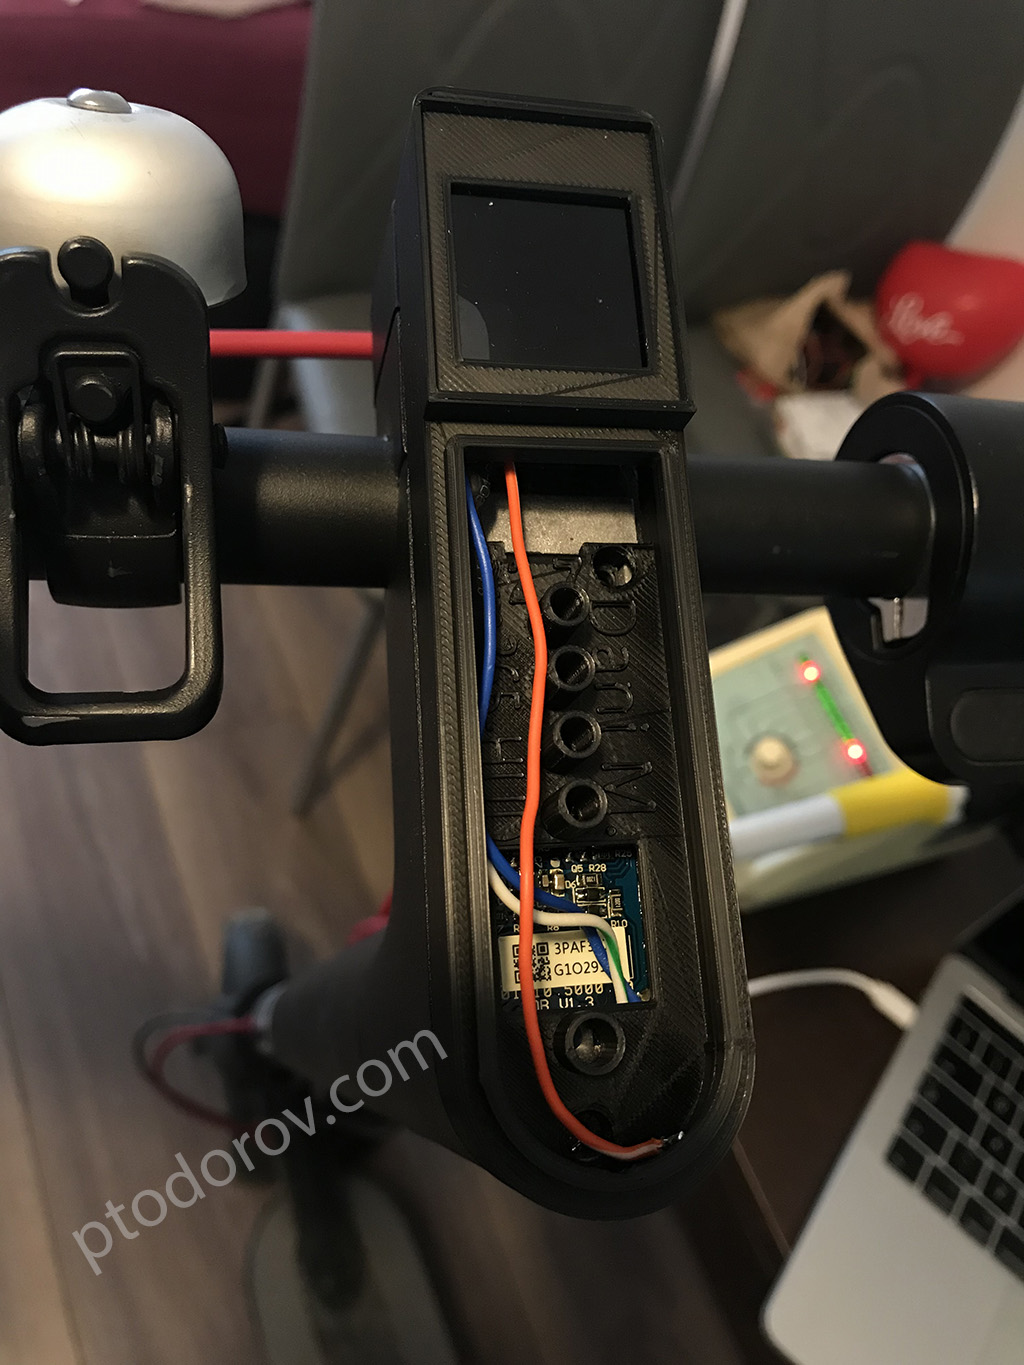
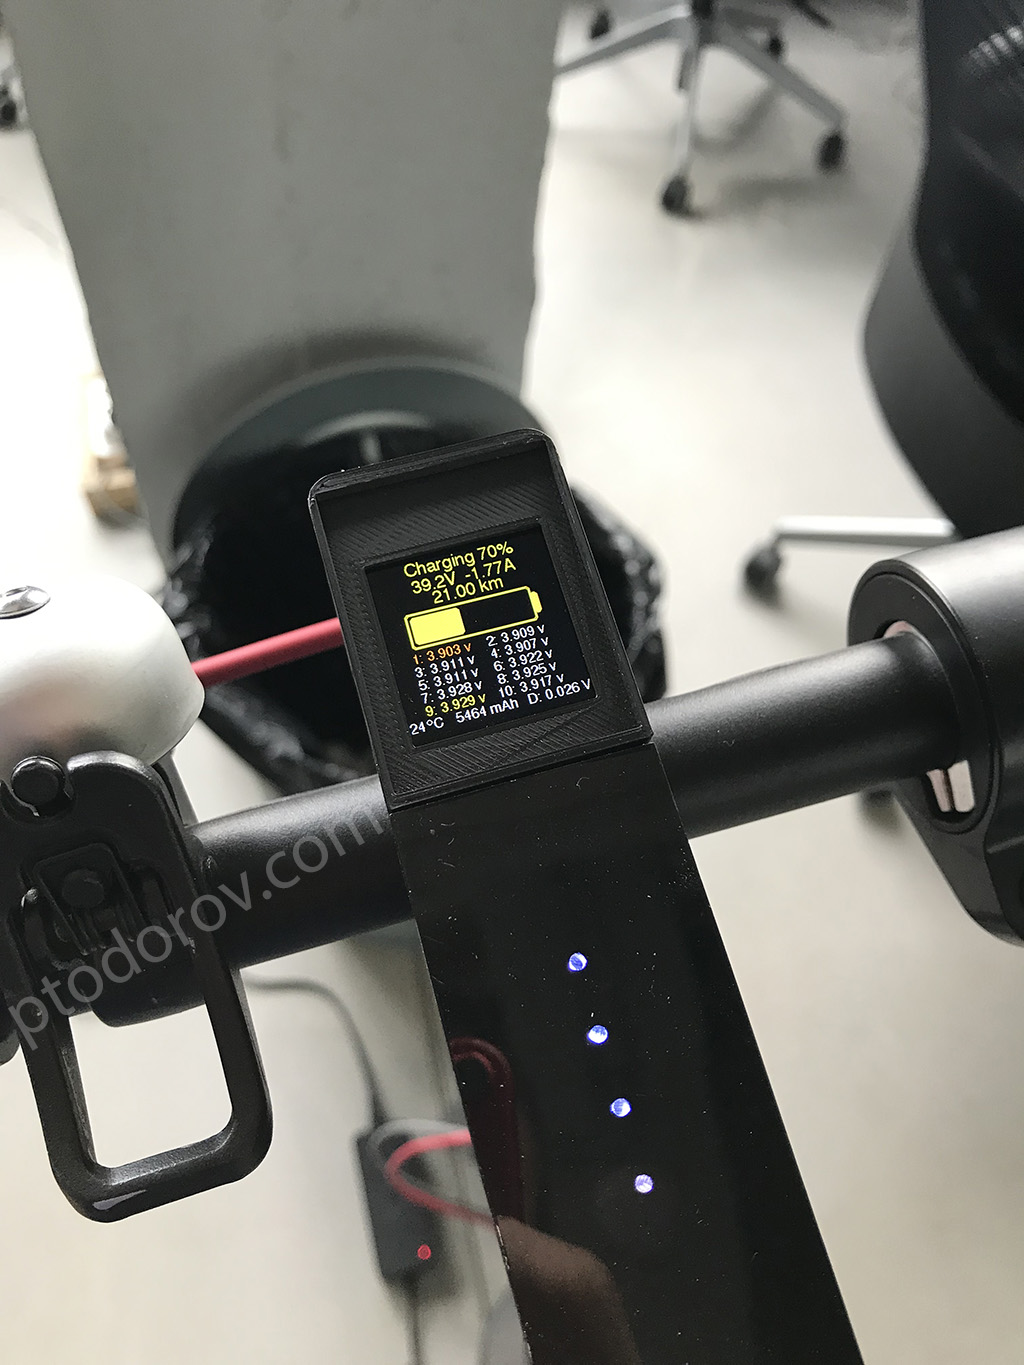
The dashboard calculates and displays daily statistics including mileage, avg. speed, time and energy used, remaining battery mileage and battery level. When you start driving the screen changes to speedometer, wattmeter and some other realtime metrics. There are a lot more screens containing battery and ESC temperatures, BMS statistics containing voltage for each cell, total battery cycles, estimated battery health percentage, pinpointing defective cells and much more.
Demo(Spanish):
Required components:
– You must join the creators’ English or Spanish chats in Telegram in order for your ESP32 serial number to be activated(it’s free):
English: https://t.me/LCDM365ESP32English
Spanish: https://t.me/LCDM365ESP32
– Download all required files (firmware, manuals, 3d printing STLs etc.):
Original
Ptodorov’s Mirror
– ESP-WROOM-32 (should be the same form factor in order to fit)
– 1.3″ 240×240 ST7789 SPI TFT
– 1N4148 diode (I had BYV26 on hand)
– 100R and 680R resistors
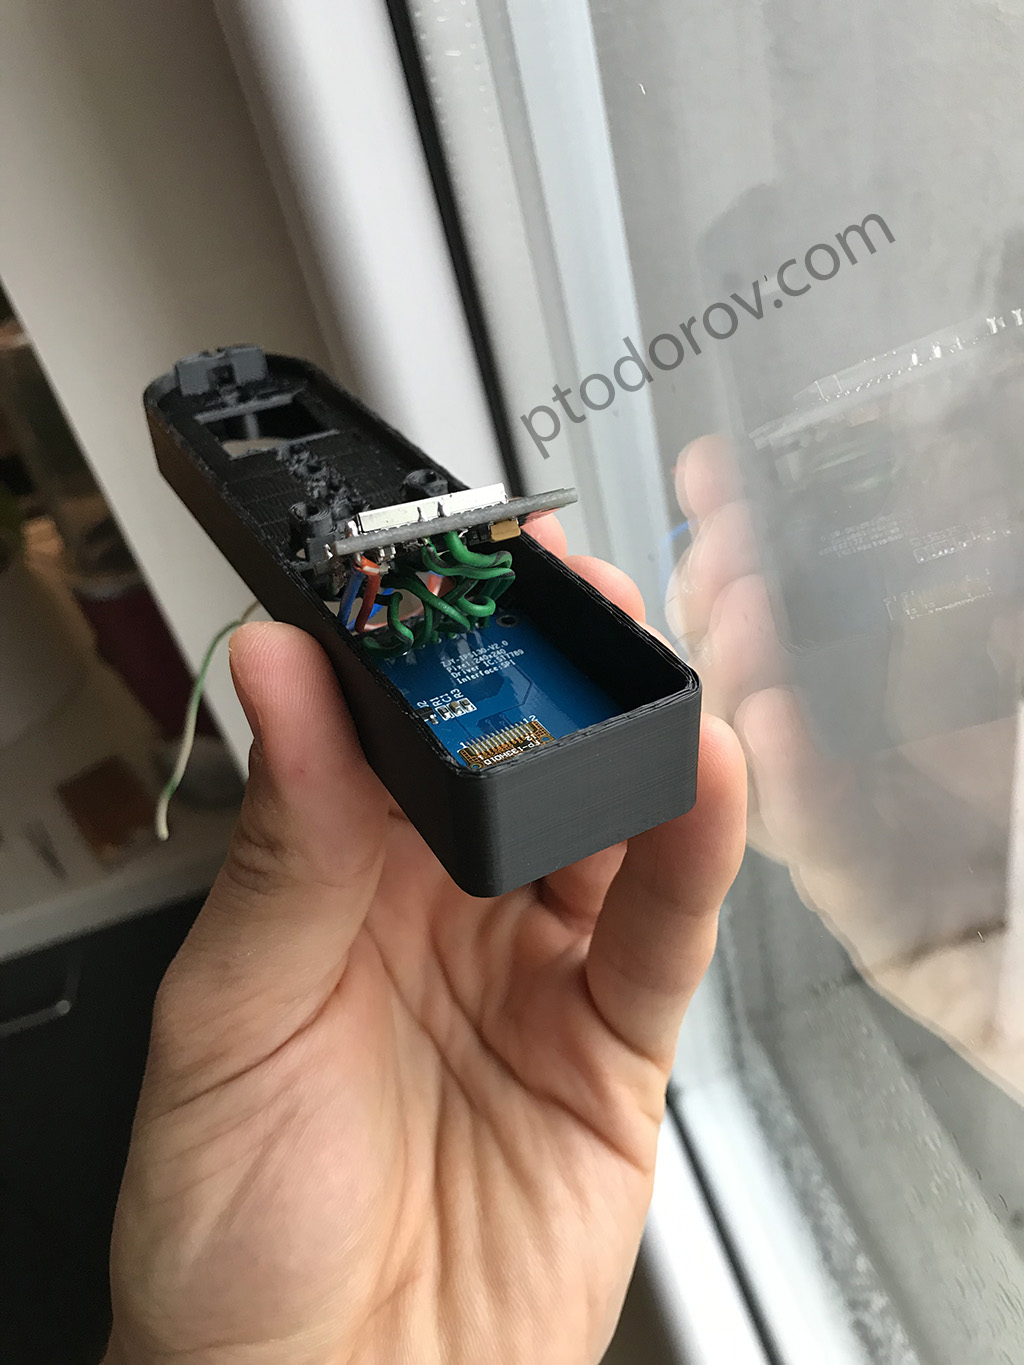
– 3D printed housing, you can find .stl files in the download (I printed this with my Ender 3 printer, but if you don’t have one you can ask/pay someone to print it for you)
Flashing the firmware to the ESP32:
Before connecting anything to the ESP32 you should flash it’s firmware.
Install ESP32 1.0.0 board in your Arduino IDE from Tools > Board > Boards Manager (Warning: ESP32 1.0.1 version will not work, choose 1.0.0 from the dropdown). Install ESP32WebServer and ESPmDNS libraries by Ivan Grokhotkov via Sketch > Include Library > Manage Libraries. Connect your PC/Mac to the ESP32 using a MicroUSB cable. In Arduino IDE choose ESP32 Dev Module from the Tools > Board menu. Change the upload speed from Tools > Upload Speed to 460800.
Now open the .ino file from the M365_Loader_v12 folder and fill your home wifi ssid and password in the //WLAN Station parameters variables. Click the Upload button and wait for it to finish. Now open Tools > Serial Monitor and take a look at the log, it should connect to you home WiFi and display it’s assigned IP address. Take note of this IP address and using a browser open http://[the_assigned_ip]. You should see a blank page with an upload box in it. Choose the FW_0.23.3-TFT.bin file from the project folder and click Upload. When it’s ready the web page will be reloaded.
Wiring it up:
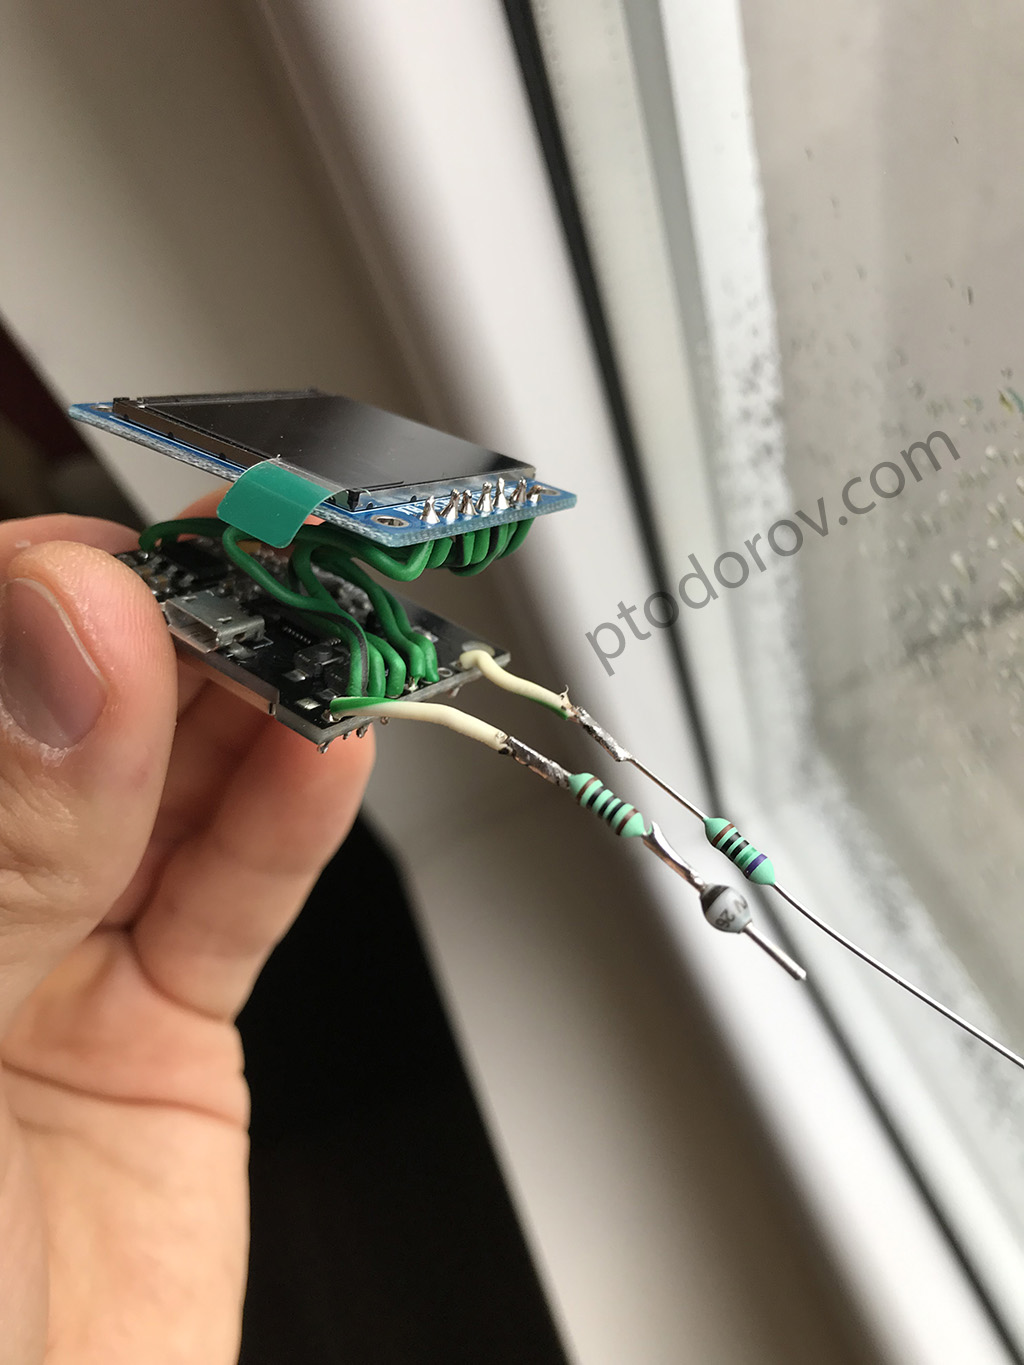
Now you can disconnect the USB cable and warm up your soldering iron. Make all connections to the TFT and the M365 power button board according to the following schematic:
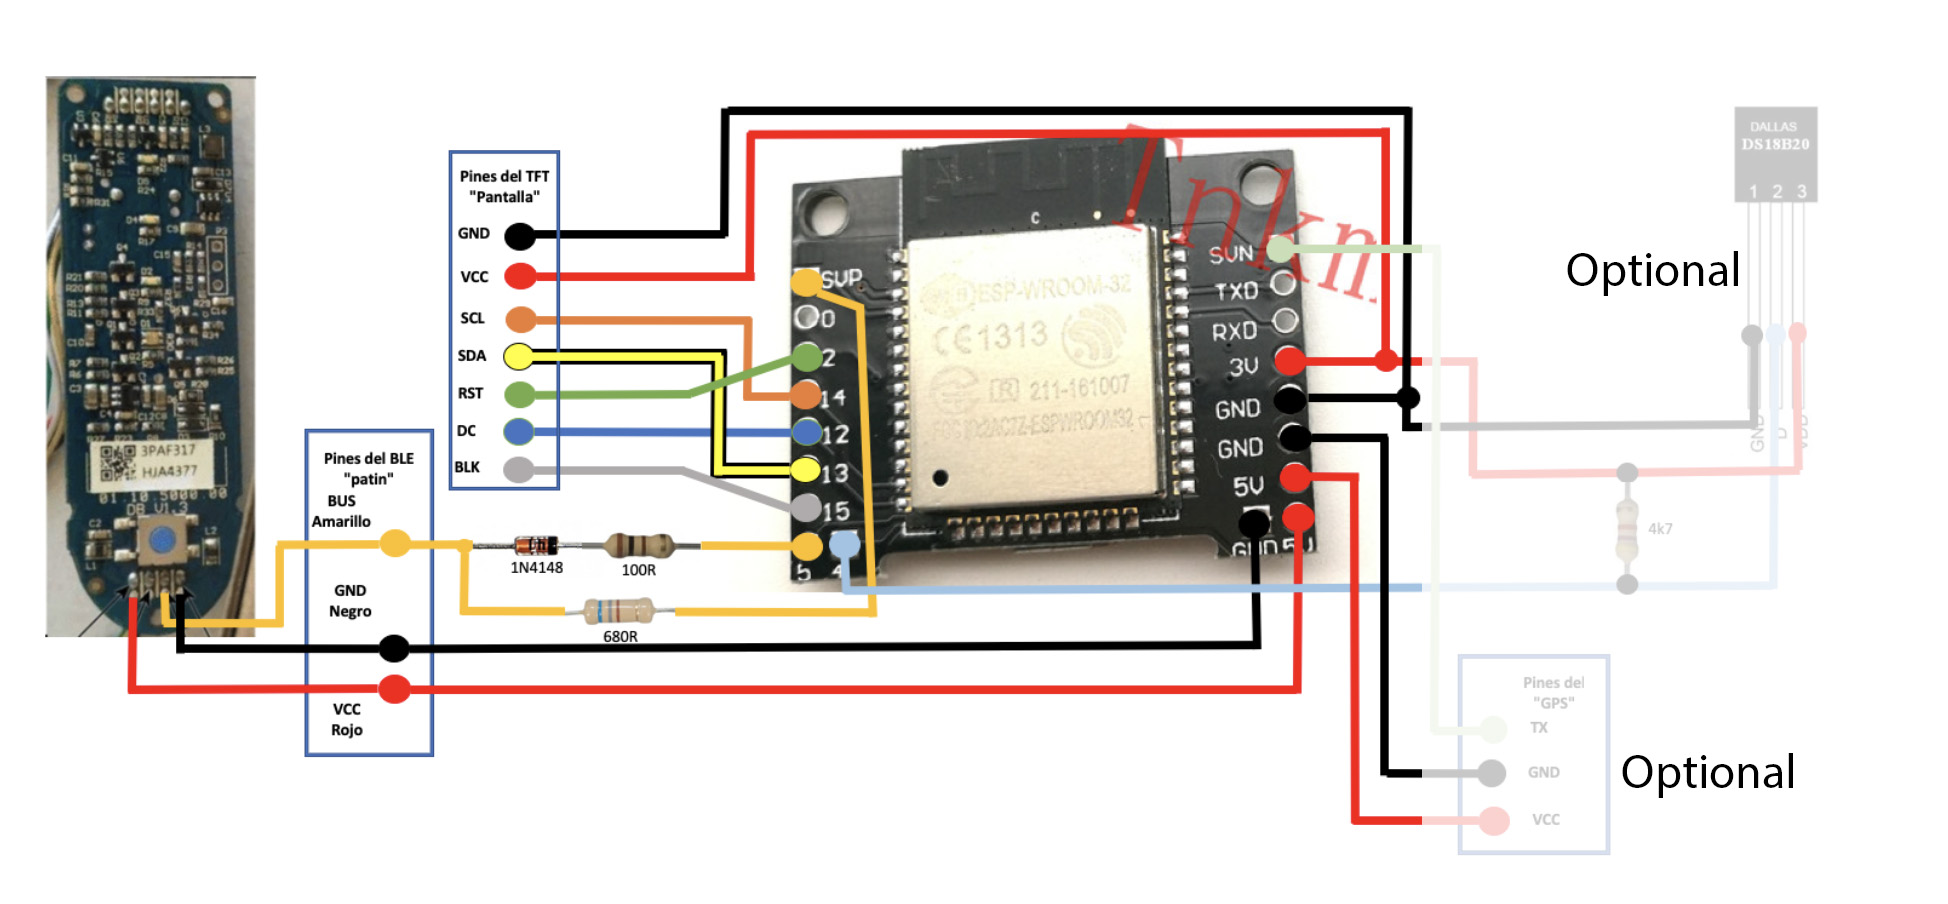
Warning: Do not connect microUSB to the ESP32 when it’s wired to the VCC of the M365 mainboard. If you need to debug with Serial Monitor or refresh the ESP32 you should only leave GND and BUS connected to the M365 and disconnect the VCC wire.
In order to activate your license you should open the ESP32 settings from your PC browser and fill in your Telegram alias, note your ESP32 serial and send it in the Telegram chat in order to be activated.